Growing your own food is a great way to save money and be less dependent on commercial grocery stores, but as we all know each crop has its season. When crops are growing, there’s an abundance of fresh, nutritious food to keep your family fed — but what do we do once the season ends?
Learning how to store food will help you get the most from your harvest.
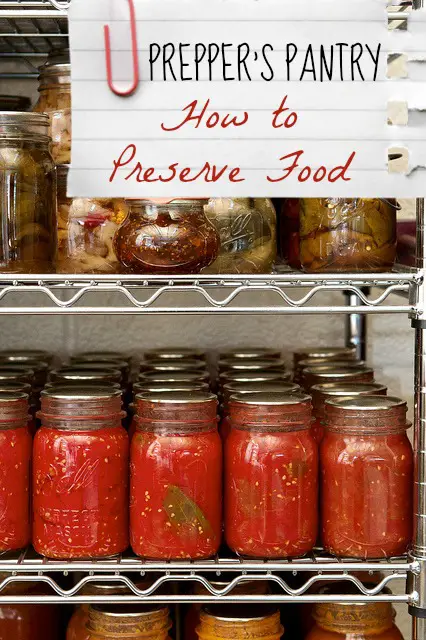
Canning as a Method of Preserving Food
Pressure canning and water bath canning are two different methods people use to can their fresh goods. Water bath canning is only safe for foods that have a high level of acidity, like fruits, jellies/jams and pickles. Vegetables and low-acid foods like meat need to be preserved using a pressure canner to keep the pathogen levels at a safe amount, especially botulism. Incorrect canning results in unsafe food, reducing your stockpile and wasting resources.
Learn more: How to Preserve Food by Canning
Here are fruits and veggies that can very well.
Canning Fruits
- Jonagold apples are a great choice for canning and applesauce, though Honeycrisp and Gala apples will do just as well. Don’t forget about apple butter too. I make a batch of apple and pear butter every year.
- Nothing beats the taste of a ripe peach fresh off the tree; with water bath canning you can have peaches year round.
- You may also can mangoes, guavas, apricots and berries.
Canning Vegetables
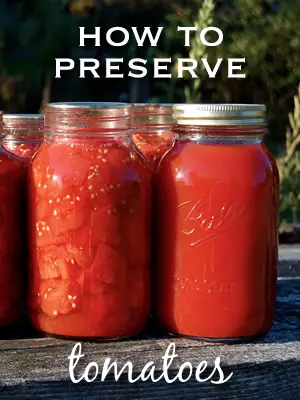
Not sure which vegetables are good for canning? Just take a look at the shelves in your local grocery store. Most veggies aren’t very acidic and will need to be pressure canned, with the exception of tomatoes.
- Beans, carrots, peas, potatoes, asparagus, peppers, tomatoes, corn, pickled onions, pickles and cabbage are all great vegetables for canning.
- Winter squash doesn’t need any special treatment. Crops like acorn squash, butternut squash and pumpkins can be stored in a cool, dark location for up to six months. Just harvest and store, no canning required.
Storing Food: Dehydrating

Dehydrating food is another great way to store the goods from your bountiful harvest. For those living off the grid, power usage is a large concern, so an electric dehydrator may not be a reasonable option. That’s where solar dehydrators come into play. Solar dryers will take more time to dehydrate fruits or vegetables — about a day or two versus the 8-12 hours that an electric dehydrator offers — but the solar option will reduce your energy usage. You can probably build your own for less than the cost of a good electric dehydrator.
When dehydrating, always cut your food into thin uniform slices so all the food dries quickly and the batch is complete all at once. Read on for more tips.
We at MomPrepares have used and recommend the Excalibur Dehydrator (Amazon)
.

Dehydrating Vegetables
- Tomatoes can be prepared for dehydration by dicing or simply slicing into rings, whichever size works best for your intended use.
- Peppers are a colorful addition that can bring a lot of flavor to yours meals. Beware when dehydrating hot peppers, though, since dehydrating can concentrate the hotness of your peppers. – Read more about dehydrating peppers.
- You can dehydrate broccoli and cauliflower by soaking in salt water for 10 minutes to clean the vegetables and then slicing florets into smaller pieces. Since broccoli can be quite fibrous, I recommend steaming for about 10 minutes, until the rich green color starts to come through. After steaming, your veggies are ready to be dehydrated.
Dehydrating Meat
Freezing dried meat will preserve it for several years, and vacuum sealing before freezing will prevent freezer burn. The temperature in a dehydrator isn’t high enough to kill all the harmful microorganisms that may be present in your meat, so cooking before you dehydrate is a must to make your food safe.
- Ground beef doesn’t rehydrate very well but there’s a trick to get around that — adding breadcrumbs to your meat before cooking. The breadcrumbs allow the meat to absorb more water when rehydrating so they come out tender.
- Squeeze cooked meats between paper towels and blot to remove as much oil as possible before dehydrating, since oil can cause the meat to go rancid.
Learn more: How to Re-hydrate Dried Meat
Dehydrating Fruit
 When choosing fruit to dehydrate, you want to make sure your harvest is ripe but not overripe. Try to avoid bruised fruit. If dehydrating fruit with skin on, wash thoroughly to remove the waxy coating from the fruit. Your fruit should be leathery or pliable when finished, not brittle. It should bend in your hands, not snap.
- Bananas are best for dehydrating when there are a few brown flecks on the skin but before they’re too ripe. This is when the fruit has the perfect amount of sweetness.
- Pineapple can be dried after coring to remove the fibrous part of the plant. You can even dehydrate canned pineapple, but it will take longer because of the extra juices.
- Dehydrated peaches combined with sugar and bread crumbs will make an excellent peach cobbler. There’s no reason your prep pantry can’t be full of delicious food.
- Dried strawberries make a great snack or they can be rehydrated and used to make strawberry shortcake.
Canned and dehydrated foods are a great way to ensure you always have nutritious food on hand.
Storing your foods will stretch your harvest and make it last through the year. When you think you have too much food to eat before it goes bad, it’s time to break out the canning and dehydrating supplies. Always check your stored goods closely for any signs they’re improperly sealed or starting to go bad.
Ali Lawrence is a kombucha tea-sipping writer who focuses on healthy and sustainable living via her family blog, Homey Improvements. She also writes about DIY projects, home tips, and gardening. Ali was born and raised in Alaska and dabbles in Pilates and party planning. Find her on Twitter at @DIYfolks.
Leave a Reply